Review: Army Painter
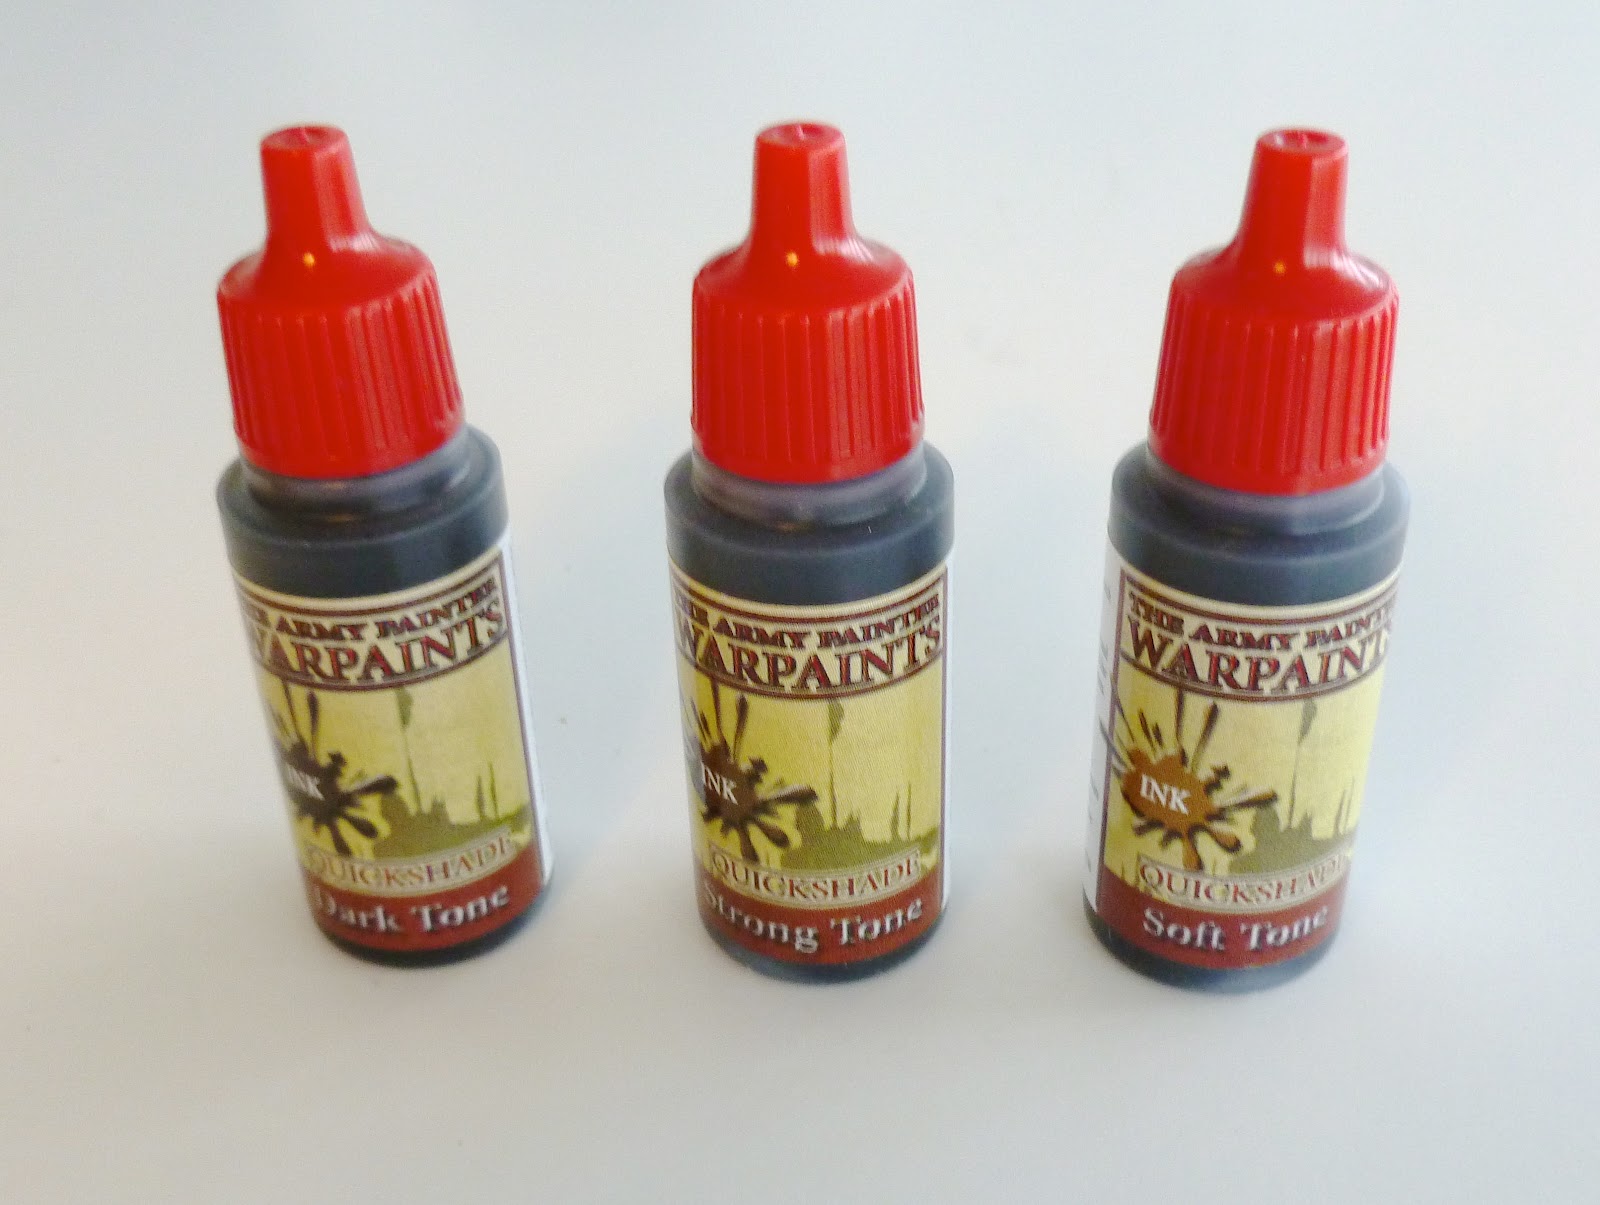 |
| The 'eye dropper' pots available |
Anyway, Quick Shade is basically an ink, which comes in Strong, Soft and Dark tones. As I say, there are tonnes of videos out there on the subtle differences between the exact tones so I won't cover old ground. Ron at FTW has done an excellent post on these and their similarities to the old GW Devlan Mud inks and others. Well worth a look.


The cost is also attractive - you can buy the stuff in paintpots (as in builder-sized paintpots, not modeller-sized) for much less than GW washes.
But onto my last step. I went back over the model and painted the original colours back over the shaded areas, leaving the recesses the shaded colour. This improves the look of the model enormously and again, only added about another three minutes to the painting time.

My favourite thing about AP is it eliminates the need for lots of different shades of the same colour and is ideal for beginners looking to take their painting to the next level. As my regular readers may know, I'm not a fan of batch painting and I like to take time on each individual model. But these same techniques are applicable to higher-quality models. Indeed the only difference is I may add one or two more highlights after that last step, and be a bit more precise in applying the wash in the first place. For example, I might wash around a sword or face that I want to have a different (usually lighter) tone to the rest of the model.

So there you have it - a very quick and rough look at AP's washes. As well as any new players, if you old campaigners (you know who you are!) have any thoughts, then just drop them in the comments section!
Thanks a lot for reading, and here's to the success of your painting endeavours!
Ed


Interesting. I bought a pot just before I gave up painting. When I shake it now, I can hear the Enginseer rattling round inside.
ReplyDeleteAnyway, I've just started painting little men again (as opposed to jus' tanks) so I might have a search in the garage and see if I can find it.
oooh, like the Confederate Cavalry, btw.
Glad you found it useful - it's such a massive timesaver that I thought I ought to at least try it.
Deletereally wonderful review. lovely Confederate Cav. I'll be getting some of this i think.
ReplyDeleteThanks, commander. It's worth it since the individual bottles are quite cheap as well, you can just give it a trial.
DeleteSomething I'll be buying now.
ReplyDeleteI really should ring up the Army Painter people and get myself on some sort of commission. Glad it was useful Fran.
DeleteOnce I run out of my current wash, I think I'll give this stuff a go.
ReplyDeleteCheers mate.
No problem buddy, love to see what you come up with!
DeleteI've never seen such a useful and comprehensively straightforward review: thank you!
ReplyDeleteThanks for the kind words Drax, you're very welcome, as always!
DeleteVery nicely done confederate Calvalry!
ReplyDeleteThanks James! Ready to give those dastardly Northerners a run for their money. Actually it was just supposed to be a test/demo model but I'm pretty pleased with him, looking back at the photos.
DeleteGreat review, and I love how the mini turned out! I absolutely love that these exist - it's been crucial for my guard, as I started painting it well prior to GW's discontinuation/changeover of their paint line and have been forced to carry on afterwards using a mix of vallejo and . I needed something that would match exactly to the old devlan mud and badab black washes since they were integral to the color scheme!
ReplyDeleteThough I will say I'm not personally a fan of washes in eyedropper form - it's probably heresy of a terrible level that I end up pouring the strong tone and dark tone inks into old devlan mud and badab black wash bottles, right? Hah!
Great post, man!
They really are irreplaceable, aren't they? I liked Rob's comparison base he painted up, really goes to show just how similar they are.
DeleteI agree actually - I'm used to eyedroppers now and can judge how much I need - but I'd still prefer traditional bottles, that doesn't sound terribly heretical to me!
Brilliant, Colonel! That's a really great tutorial. There is nothing quite like Army Painter for getting a huge amount of figures painted in bulk! Once you start highlighting over the dipped shades, you can get some great results - like here - which you can't tell from three-stage super highlighting work. Bravo!
ReplyDeleteThanks a lot Sid. Just goes to show trying new things once in a while does you some good. I really like it as it gives good results with minimal time investment - perfect for speed painting! Also it's a great base method to use on more detailed models.
Delete